A simple and delicious recipe for creamy Korean Corn Cheese. Serve with chips or bread for dipping as a yummy appetizer, or keep it simple and serve as a side dish. We love it with freshly grilled meat.
- 2 ears fresh sweet corn kernels kernels removed and cobs discarded / 1 canned corns / 1 1/2 cups frozen corns
- 1/3 cup mayonnaise
- 4 ounces shredded mixed cheese
- 1 1/2 teaspoons sugar
- 2 green onions, thinly sliced / 3 tablespoons thinly sliced chives
- salt and pepper to taste
- Preheat the oven to 400˚F.
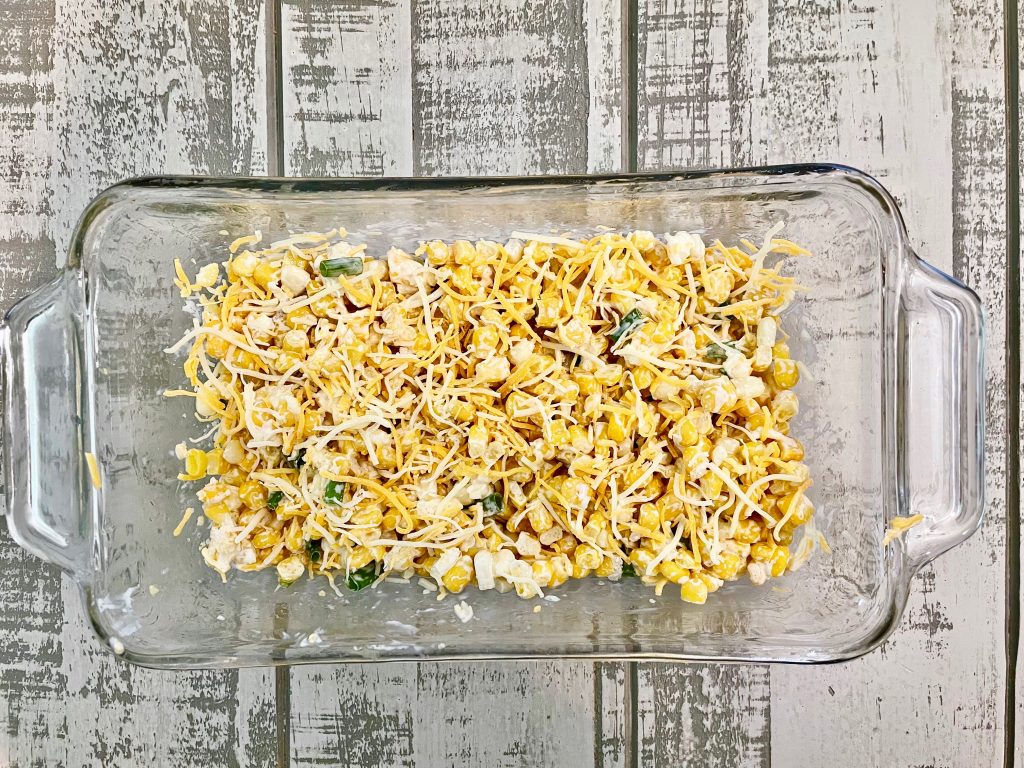
- Combine all the ingredients into a mixing bowl and stir together. Season with salt and pepper and give it one more good stir. Pour mixture into a lightly greased baking dish. (see Picture 1)
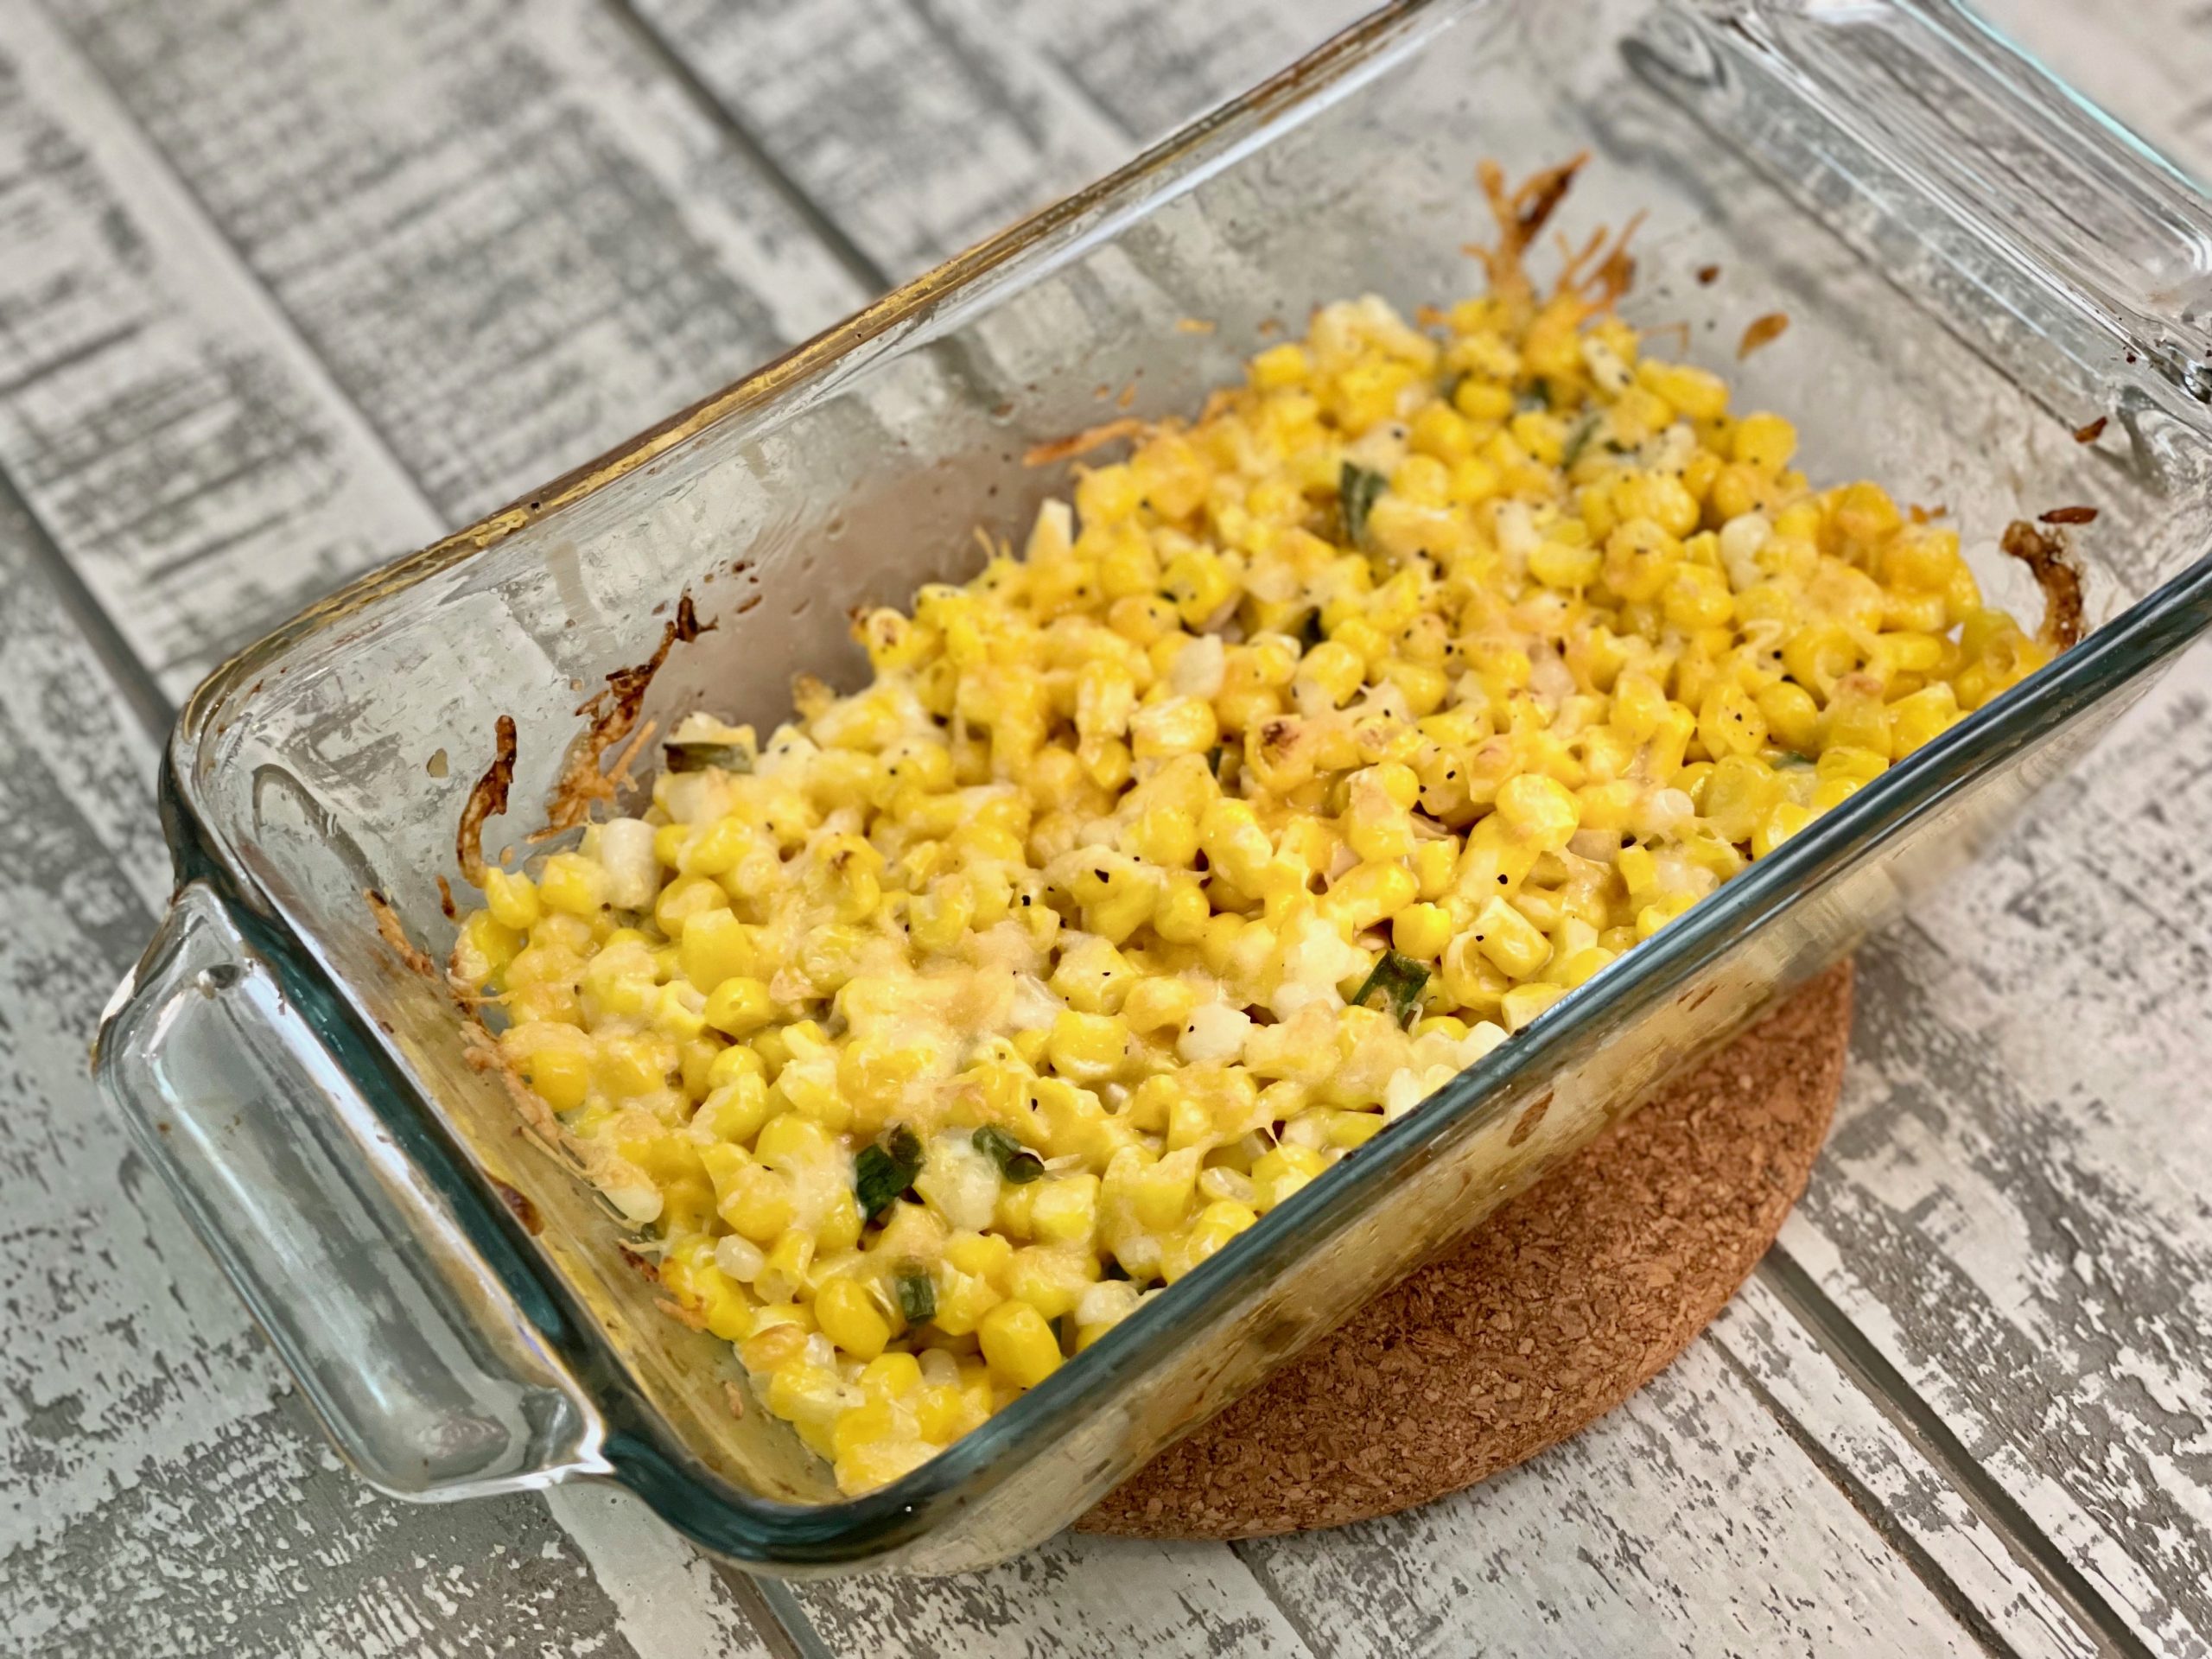
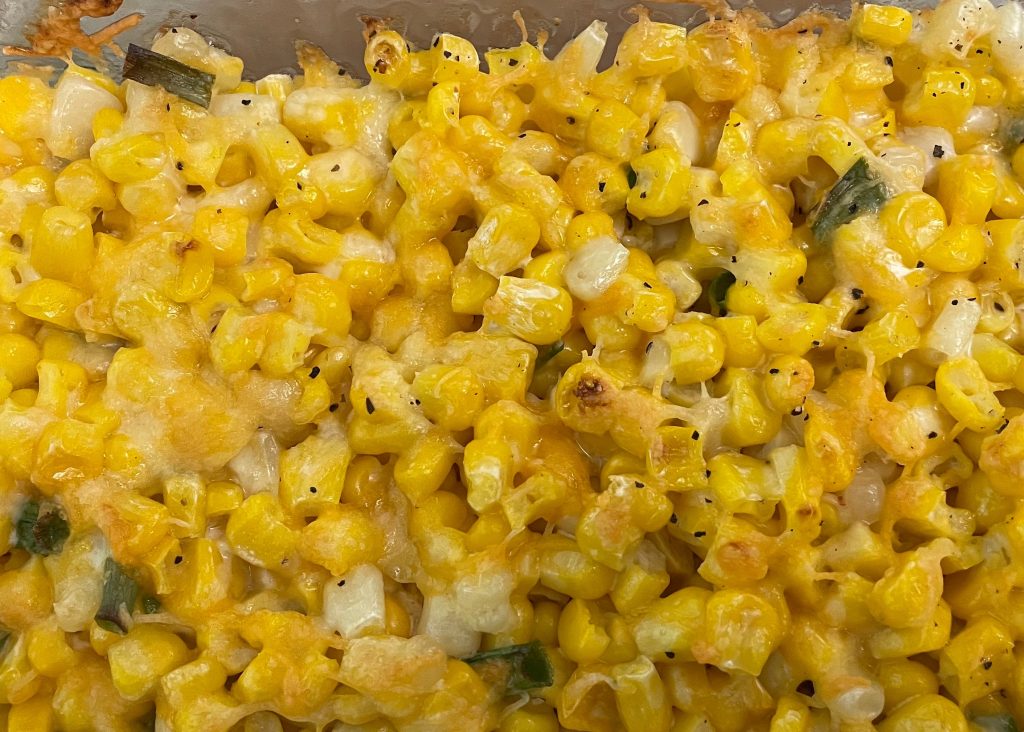
- Bake for 10 minutes to melt the cheese and heat through. Broil for about 2 minutes to make it bubbly and brown on top.
- Although fresh corn is our preference, you can definitely use canned corn or frozen corn. If using canned corn, thoroughly drain kernels from 1 (15 ounce) can and make sure to omit the 1 1/2 teaspoon of sugar as canned corn sits in a naturally sweet brine. If using frozen corn (about 1 1/3 cups), thaw completely and drain any excess water before continuing to make the recipe as instructed.
- Sugar is important. A small amount of sugar is added to further bring out the corns natural sweetness and add a nice balance to the creamy mayonnaise and salty cheese.
- This dish can be made up to 2 days ahead of time. Simply mix together and place all the ingredients into a baking dish. Tightly cover and refrigerate until ready to bake and serve.
- This dish can be frozen for up to 2 months. Simply mix together and place all the ingredients into a baking dish. Tightly wrap in plastic wrap or foil and freeze. When ready to bake and serve, add an additional 10 to 15 minutes to the baking time, until the cheese has melted and the dish has heated through, then continue to broil for the usual 2 minutes as directed in the recipe.